Growing a beard requires patience, but maintaining it requires true skill. A well-groomed beard transforms a messy appearance into a sharp, highly structured look that commands respect. However, achieving that flawless finish at home often leads to crooked lines, uneven lengths, and deep frustration. Understanding exactly how professionals handle facial hair completely changes the grooming game.
This guide breaks down the ten essential steps involved in a top-tier beard trim. By learning this detailed process, anyone can appreciate the artistry behind proper grooming and know exactly what to expect during a shop visit. You will discover the importance of proper preparation, the secrets to finding the perfect neckline, and the finishing touches that keep facial hair looking incredibly healthy. Explore these crucial steps to elevate your personal style and achieve a consistently sharp appearance.
1. Deep Cleansing and Softening the Facial Hair
The foundation of any great haircut or beard trim starts with a completely clean canvas. Before scissors or clippers ever touch the face, the facial hair must undergo a thorough cleansing process. Dirt, natural oils, and leftover styling products accumulate in the beard throughout the day, which makes the hair incredibly difficult to cut evenly. Washing the beard with a high-quality, specialized shampoo removes this daily buildup and prepares the individual strands for a precise trim.
Beyond just cleaning, this initial step heavily focuses on softening the coarse hair. Coarse facial hair naturally resists cutting and can easily dull professional tools over time. Applying a rich conditioner or a pre-shave softening oil hydrates the hair shafts, making them much more pliable and cooperative. This deep hydration prevents the hair from snapping or pulling during the actual trimming phase. A soft, deeply conditioned beard lays perfectly flat, allowing for a much more accurate and symmetrical shaping process right from the very beginning.
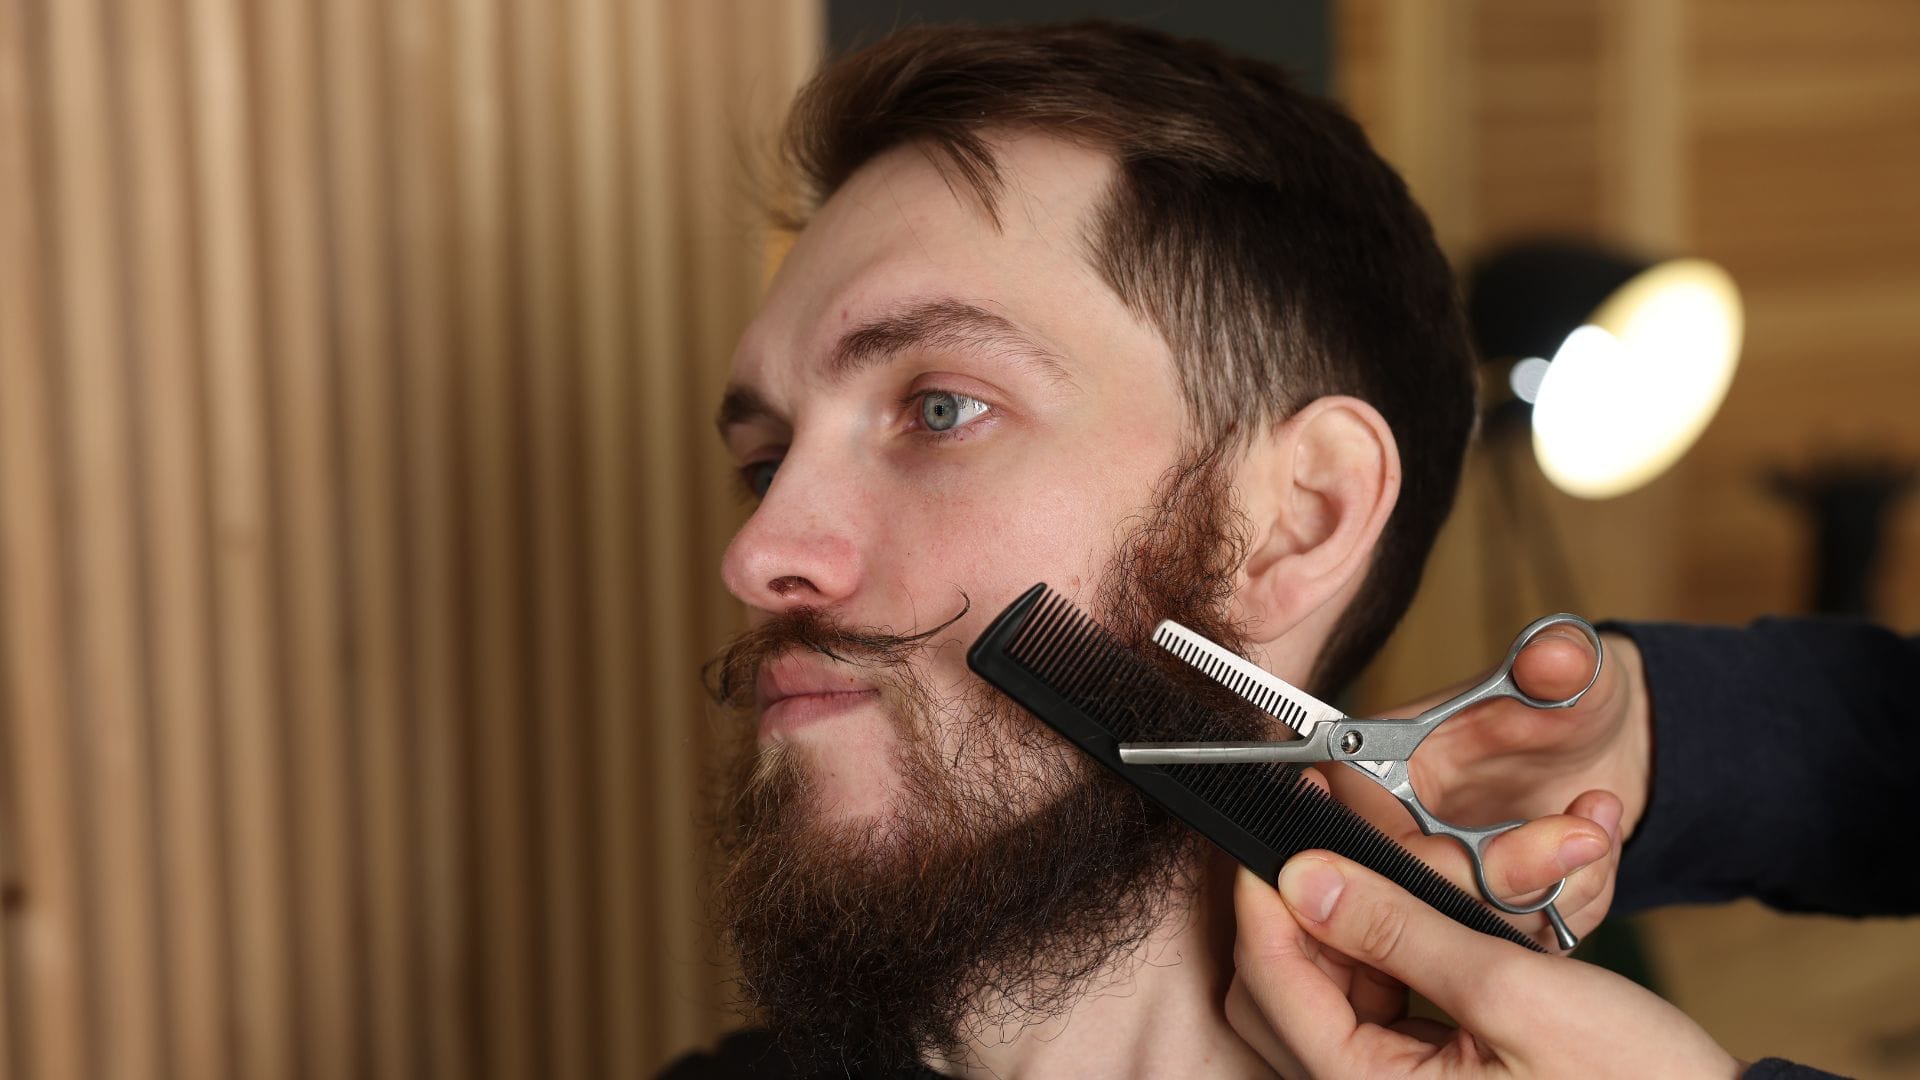
2. Thorough Combing and Detangling
Once the beard is completely clean and fully softened, the next critical step involves thorough detangling. Facial hair naturally grows in multiple different directions, creating hidden knots and dense patches that distort the actual shape of the beard. An experienced barber will use a fine-tooth comb or a stiff boar bristle brush to gently work through these tangles. By combing the hair outward and downward, the true length and natural growth patterns become completely visible.
Skipping this vital step almost always leads to disastrous, uneven results. If the hair remains tangled, the clippers will cut chunks of hair unevenly, leaving highly noticeable holes and patchy areas once the beard settles back into its natural state. Proper combing physically trains the hair to lay flat and perfectly aligns every single strand for the incoming blades. This meticulous brushing process ensures that the final silhouette looks incredibly smooth, cohesive, and perfectly balanced across the entire face.
3. Determining the Ideal Shape and Length
A truly great beard trim is never a one-size-fits-all procedure. The third step involves a careful visual assessment to determine the absolute best shape for the individual’s specific face. Round faces heavily benefit from longer hair on the chin and shorter sides to create an elongating effect. Conversely, long faces look much better with fuller sides and a shorter bottom to add necessary width. Understanding facial geometry is absolutely crucial for crafting a highly flattering and personalized look.
During this phase, the professional evaluates the natural density of the hair and identifies any completely bare or heavily thinning patches. They use this visual information to decide exactly where to leave bulk and where to remove weight. Creating a clear mental blueprint prevents taking off too much length accidentally. Establishing this firm game plan ensures that the final trim highlights the strongest facial features while skillfully masking any weaker areas, resulting in a perfectly customized and highly structured beard.
4. Trimming the Bulk and Establishing the Base
With the preparation finished and a solid plan in place, the actual cutting finally begins. The initial cutting phase focuses entirely on removing the heavy, unwanted bulk from the main body of the beard. Using professional-grade clippers equipped with specific guard lengths, the groomer heavily reduces the volume on the sides of the face. Trimming down the sides immediately slims the face and prevents the beard from looking overly round or completely unkempt.
After managing the sides, the focus shifts to establishing the bottom base of the beard. This base acts as the physical foundation for the entire style, giving the facial hair a strong, defining bottom line. Whether someone desires a perfectly square box shape or prefers more natural, Rugged Looks, clipping the bottom creates an instant sense of order. Removing the heavy, transparent wisps at the very bottom makes the remaining beard look significantly thicker, denser, and highly intentional.
5. Defining the Cheek Lines with Precision
The cheek lines play a massive role in the overall neatness of any facial hair style. Natural cheek lines often grow highly unevenly, with stray hairs creeping far up toward the cheekbones. The fifth step involves strictly defining this upper border to create a sharp, clean contrast between the thick hair and the bare skin. Using small trimmers, the professional carefully carves a smooth, symmetrical line that naturally follows the curvature of the cheek.
Creating the perfect cheek line requires immense restraint. Dropping the line too low artificially lowers the jawline and makes the face look unnecessarily bottom-heavy. Keeping the line as high and natural as possible usually provides the most flattering and masculine appearance. By removing only the stray hairs that sit above the dense bulk of the beard, the style immediately transforms from a messy, overgrown state into a highly polished, carefully groomed masterpiece that highlights the cheekbones beautifully.
6. Crafting the Perfect Neckline
Perhaps the most challenging aspect of beard grooming is successfully establishing the correct neckline. A neckline placed entirely too high makes the beard look like a strange, unnatural strap strapped to the chin. A neckline placed far too low makes the neck look completely covered in thick hair, destroying the actual jawline entirely. The professional carefully locates the perfect stopping point, usually sitting just about one inch directly above the Adam’s apple.
Using sharp trimmers, they carve a smooth, U-shaped curve that securely connects from the back of the jaw directly to the center of the neck. Achieving this perfect balance often fulfills the ultimate Barber Wishes of creating a flawless, highly structured lower border. Removing the heavy neck hair instantly reveals a strong, highly defined jawline that dramatically improves the side profile. This single, meticulous step separates amateur home grooming jobs from truly elite, high-quality professional trims.
7. Detailing the Mustache and Lip Area
The mustache sits directly in the center of the face, demanding exceptional attention to detail. Overgrown mustache hairs that constantly hang over the top lip look incredibly messy and cause major annoyances during eating and drinking. The seventh step requires using small, highly precise grooming scissors to carefully snip away any hairs that cross the upper lip boundary. This delicate cutting process ensures the mouth remains completely clear and highly visible.
Beyond just clearing the lip, the mustache must blend perfectly into the rest of the beard. The sides of the mustache are usually tapered down so they do not abruptly hang over the corners of the mouth. Some individuals prefer the mustache fully disconnected from the beard, while others want a completely seamless, flowing transition. Taking the time to sculpt the mustache properly guarantees that the very center of the facial structure looks just as clean, sharp, and intentional as the outer edges of the jaw.
8. The Classic Hot Towel Treatment
A premium grooming experience always includes highly relaxing, traditional preparation methods before applying a straight razor. The hot towel treatment is a staple step that provides immense physical comfort and essential skin preparation. A thick cotton towel, heavily soaked in piping hot water and soothing essential oils, is wrapped tightly around the face and neck. The intense heat forces the skin pores to open widely and heavily softens the remaining short stubble on the cheeks and lower neck.
This steaming process effectively reduces the chances of severe razor burn, angry red bumps, and painful ingrown hairs. The warmth draws blood directly to the surface of the skin, completely relaxing the facial muscles after the bulk trimming phase. When searching for a highly rated barber near me, clients actively look for places that consistently offer this exact traditional, highly soothing ritual. It elevates a simple, basic haircutting chore into a deeply luxurious, highly therapeutic spa-like experience designed specifically for men.
9. Executing the Straight Razor Finish
Following the relaxing hot towel treatment, the professional applies a rich, slick shaving gel or a thick, warm lather directly to the exposed skin on the cheeks and the lower neck. The straight razor finish is the ultimate step for achieving maximum sharpness. The single, incredibly sharp blade glides smoothly across the lubricated skin, removing the tiny, stubborn hairs that standard electric trimmers always leave behind. This process creates borders that look almost surgically precise.
Handling a straight razor requires immense technical skill, a very steady hand, and a deep understanding of natural skin elasticity. The skin must be pulled completely taut to create a perfectly flat surface for the dangerous blade to travel safely across. This extremely close shave completely eliminates the gray shadow of short stubble, making the dark, thick lines of the beard pop visually. The straight razor finish provides a level of crisp, highly defined detailing that is physically impossible to achieve safely in a standard home bathroom.
10. Applying Premium Oils and Styling Balms
The final step of the entire trimming process focuses heavily on restoring essential moisture and locking the new style firmly in place. The trimming and shaving processes can easily leave the skin feeling slightly dry and the hair looking a bit dull. Applying a few drops of premium, natural beard oil directly to the roots quickly hydrates the underlying skin, immediately stopping any annoying itchiness or flaky dandruff from developing later in the week.
After oiling the skin, a high-quality styling balm or a light holding wax is massaged gently throughout the actual hair shafts. The balm heavily tames any remaining wild flyaways and provides a very light, natural hold that keeps the precise shape perfectly intact. A final, thorough brushing evenly distributes these rich products, leaving the beard looking incredibly healthy, highly shiny, and perfectly structured. This vital finishing touch ensures that the facial hair continues to look absolutely spectacular long after leaving the grooming chair.
Conclusion
Mastering the art of facial hair maintenance requires a deep understanding of technique, precise tools, and proper preparation. The ten steps outlined above highlight exactly how much detailed work goes into achieving a flawless, highly structured look. From the initial deep cleansing to the final application of rich styling balms, every single phase serves a highly specific and necessary purpose. Trusting these methods ensures that facial hair always remains an asset rather than a messy distraction. Embracing this professional approach guarantees a consistently sharp, perfectly groomed appearance that leaves a powerful, lasting impression everywhere you go.